Nintendo announced the Switch on March 3, 2017. Although Nintendo has had its ups and downs in the console market, the Nintendo Switch was an instant classic at launch, costing $299 rather than $399 for the Sony PlayStation 4, or $299 for the Xbox One S. The Switch was an instant classic, despite Nintendo’s ups and downs in the console market.
However, the Nintendo Switch differs from the PS4 and Xbox One S because it’s a hybrid console. It can be connected to a TV and played like a standard console. It can, however, also be used as a wireless handheld device, just like the now-discontinued Nintendo 3DS.
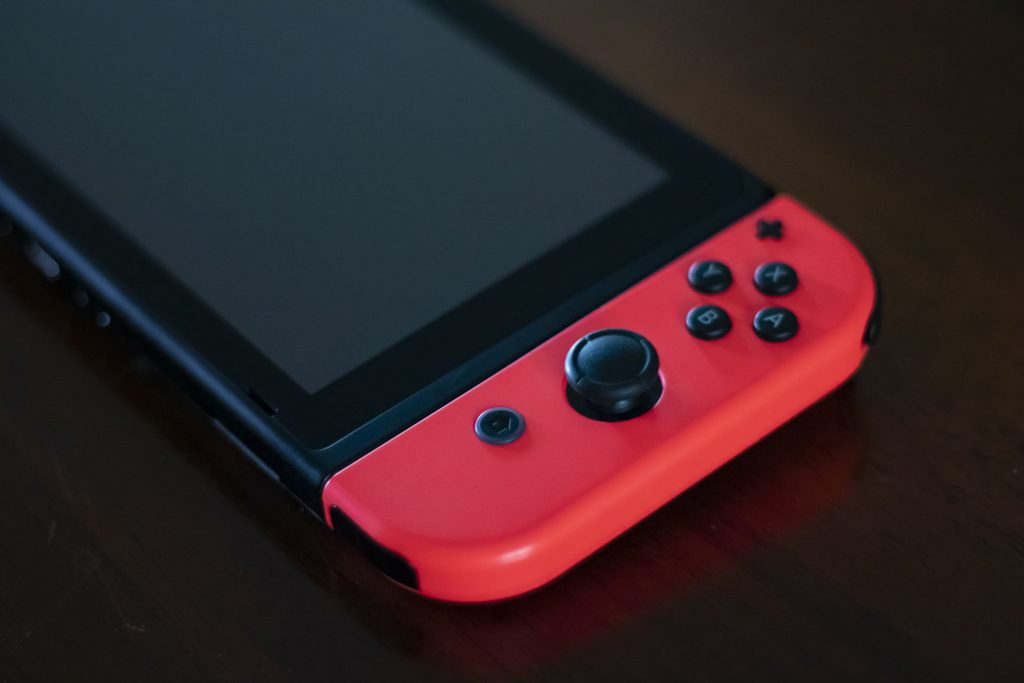
Nintendo switch
Nintendo has introduced a new gaming console called the Nintendo Switch. The new switch is comfortable to use. You can take it with you anywhere. It’s easy to start playing games on your TV then wander off with the same game right where you left off, and you can even play multiplayer games with friends on their consoles in some cases.
Setting Up Nintendo switch
The consoles in the box
When you buy a Nintendo Switch, it comes with the console, one left and right joy-con, two joy-con straps, a grip that lets you attach both joy-cons to make them feel like a more traditional controller, a dock for plugging the system into your TV set up, an HDMI cable for connecting to your TV, two wrist straps, and the power adapter.
Setting up the Nintendo Switch dock
The Nintendo Switch Dock is what you plug the system into when you want to play on your TV. To start, place the switch into the dock with both screens facing up. You’ll need to use some force to get it into the port, but once you do, line up the grooves on the bottom of your console with those on the dock and push it in further.
The joy-con controllers
Attach The Joy-Cons To The Grip Controller. You can also attach both joy-cons to one side of a controller called a grip. Just push the buttons on each side of both joy-cons and slide them into place on the grip.
Connect to the dock and tv setup
Once everything is in place, plug your HDMI cable from your TV to the dock and plug in your Nintendo Switch power adapter. Turn your TV set up to the proper input if necessary and turn it on, and you should see a menu asking for language selection. Set that up and continue with the software setup process after that’s finished.
Link internet with your Nintendo account
The next thing you’ll need to do is a link to the Internet. Ensure you’re connected to wi-fi before continuing out of system settings (the sun icon at the top right corner). From there, go to the system settings menu, set up an internet connection there, and connect.
But can’t do that now? Restart your Nintendo Switch by holding down the power button on the top of the console for a few seconds until you see the logo appear. Then choose “power off” from the screen that pops up and let it turn off completely before turning it back on and trying again.
Choose Your Profile Icon And Enter The System
Next is choosing what profile icon you want to use (with your MI face) and computer user information. Once you’re done with those, click continue and finish the setup! You should soon be taken through a quick tutorial where you learn how to make use of some of the new features (like the joy-cons, their motion controls, and the HD rumble) before getting to play around with your new switch.
Is your Nintendo Switch ready to go?
Your Nintendo Switch should be ready to go now that you’ve finished setup! If there are any settings you need to change or if anything doesn’t seem right, feel free to head back into the system menu and handle it. Remember, you can always contact customer service for more help.
Steps for setting up an account for Nintendo switch.
The Nintendo Switch is a new video game system from Nintendo. It’s unique in that it is both a home console and a handheld device. There are multiple ways to set up your Nintendo Account on your Nintendo Switch System, including via the Internet, over the phone, or in-person with one of our retail partners.
Here are some examples of how you can create your account:
- Visit https://accounts.nintendo.com/register
- Open the eShop on the HOME Menu of your Nintendo Switch system
- Select “Create my Nintendo Account” at the bottom-left corner of the screen
- Follow the instructions on the screen
Once you have registered an account, any user linked to that account can use it on any Nintendo Switch system to access the eShop, purchase and download software, and enjoy your games.
New users
After creating a new user profile and selecting a user icon (see below for recommended user icons), go ahead and link that new user to your Nintendo Account.
Existing users
Link an existing Nintendo Network ID to your Nintendo Account if you want to use that ID with your new console.
If you select “Create my Nintendo Account” when you first launch the Nintendo eShop on your system but later change your mind, go ahead and select “Sign in using an existing account.” If you do not yet have an Internet connection for your system, make sure to pair a wireless broadband access device to your system before you select this option.
Nintendo Account holders
Link a Nintendo Network ID to your Nintendo Account
Ensure that the user using this system is linked as an adult (18 or older) for the Nintendo Switch console. This adult user must then sign-in on the console after it is powered on to verify their identity. If they cannot do so, you will not be able to earn My Nintendo points and receive eShop purchases for your child’s account.
Signing in to your new system for the first time
After powering on the system, follow the steps below:
- Select “Link with NNID” when prompted during startup
- Create an ID if you don’t already have one, or link an ID to your new console if you do
- Select “Sign In” and input the user account information for a Nintendo Account holder 18 years of age or older. If you do not yet have an Internet connection for your system, make sure to pair a wireless broadband access device to your system before you select this option.
When multiple users are created on a single console, the user accounts may become corrupted and unusable. If your Nintendo Switch user account becomes unusable at any time, redo the “User Creation Flow” above. Please note that once a KID profile has been made on a console, family members cannot create their own specially designated profiles as their child’s parent or guardian. Only a user 18 years of age or older can create a Nintendo Account and link their user profile to it, becoming the parent/guardian account holder.
You do not have to go through the “User Creation Flow” again when you add another family member to your system if they are already linked as users on your current Nintendo Switch console. In this situation, all you have to do is sign in with your account ID and password. Remember that you cannot add more than eight accounts per system.
For security purposes, each Nintendo Switch System can only store one My Nintendo User ID. Please note that both accounts will lose earned Gold Points when transferring a user profile from one console to another. If you decide to move a user profile to another Nintendo Switch system, any unredeemed My Nintendo Gold Point codes associated with that user profile will become unredeemable.